
20/02/2026
4 min
Creative Disputes: The 5 Most Common Reasons Clients Refuse to Pay
Late payments and unpaid invoices are among the biggest stressors for independent creators. This article explores the top reasons clients…
User lands on the onboarding entry screen. Visible elements include a Back button, a Keep Going button and a link for existing users to sign in. If the user selects Sign in, the onboarding process stops and redirects to login. If the user continues, the system proceeds to identity collection.
Screen header displays Tell us a bit about yourself. Supporting text explains that the information helps personalize the experience and ensure everything works smoothly behind the scenes. Fields appear in the following order: Company Name, First Name, Last Name, EIN, Bio and Phone number with country selector. A friendly greeting appears on screen. All required fields must be completed before the Keep Going button becomes active. Data is stored in onboarding session state.
Screen header displays Verify phone. The user is instructed to verify the phone number to proceed. A five digit code is sent via SMS to the provided number. The screen includes an input field for the code, a Verify phone number button and an option to resend the code. The user cannot continue without entering the correct code. Upon successful verification, a phone_verified flag is stored and onboarding continues. Incorrect codes keep the user on the same screen.
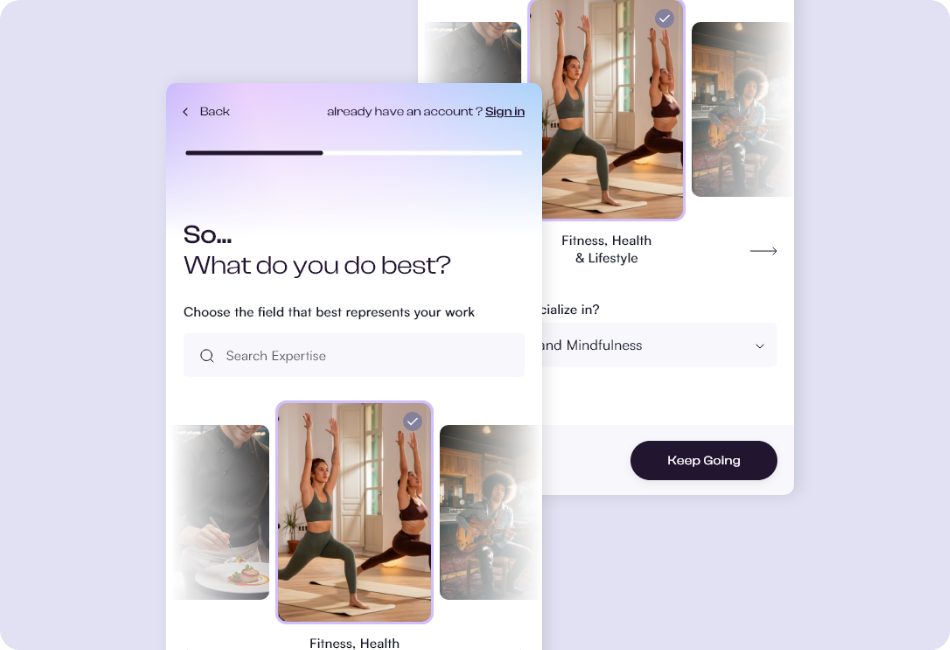
Screen header displays Choose the field that best represents your work. The interface includes a Search Expertise input and selectable professional categories such as Fitness, Health and Lifestyle. A supporting prompt asks what the user does best. The user must select one primary field. This selection is stored as the primary professional category. Back navigation returns to the previous step.
The next screen asks What do you specialize in. An example specialization such as Yoga, Pilates and Mindfulness may be displayed. The user refines their expertise within the selected category. This creates a secondary classification layer. Selecting Keep Going advances to the contact details screen. Back returns to the primary field selection.
Screen header displays Add your contact details and social profiles. Supporting text asks how clients can reach the user. Fields include Email, Address, City, State and Media Link inputs with https placeholders. An Add Media button allows multiple links to be added. Email format validation and URL validation are enforced. This information is later used in agreement footers and public profile data.
Screen header displays Brand Identity and Make it yours. The user uploads a Company Logo that will appear on documents and draws a digital signature using a signature pad. Options are available to clean or remove the signature. Two required agreement checkboxes are displayed below. The Create account button remains inactive until required agreements are accepted.
User must accept all required agreements to proceed. Once accepted, clicking Create account finalizes the user record, stores identity and branding data, records legal consent timestamp and provisions the workspace.
The final screen confirms that the workspace is ready. The message explains that the user can now create agreements, send digital signatures and accept payments. A Login button provides access to the newly created workspace. Registration and identity onboarding are now complete.
Yes. The user cannot proceed without successful SMS verification.
Yes. Logo and signature can be modified from workspace settings.
The user remains in partial onboarding state and must complete verification and agreement acceptance before activation.
This guide documents in full detail the entire Registration and Identity phase of the Happ onboarding flow. It includes every screen, visible text element, input field, button state and transition until the workspace is fully provisioned. Membership billing logic and payment activation are documented separately.